Crash Course: Let's Make a Game! (Part 2)
by Jon (Updated on 2015-10-17)
Part 1 (Intro) - Part 2 (Resources) - Part 3 (Actors) - Part 4 (Create a Scene) - Part 5 (Test your Game)
Game Resources (Part 2 of 5)
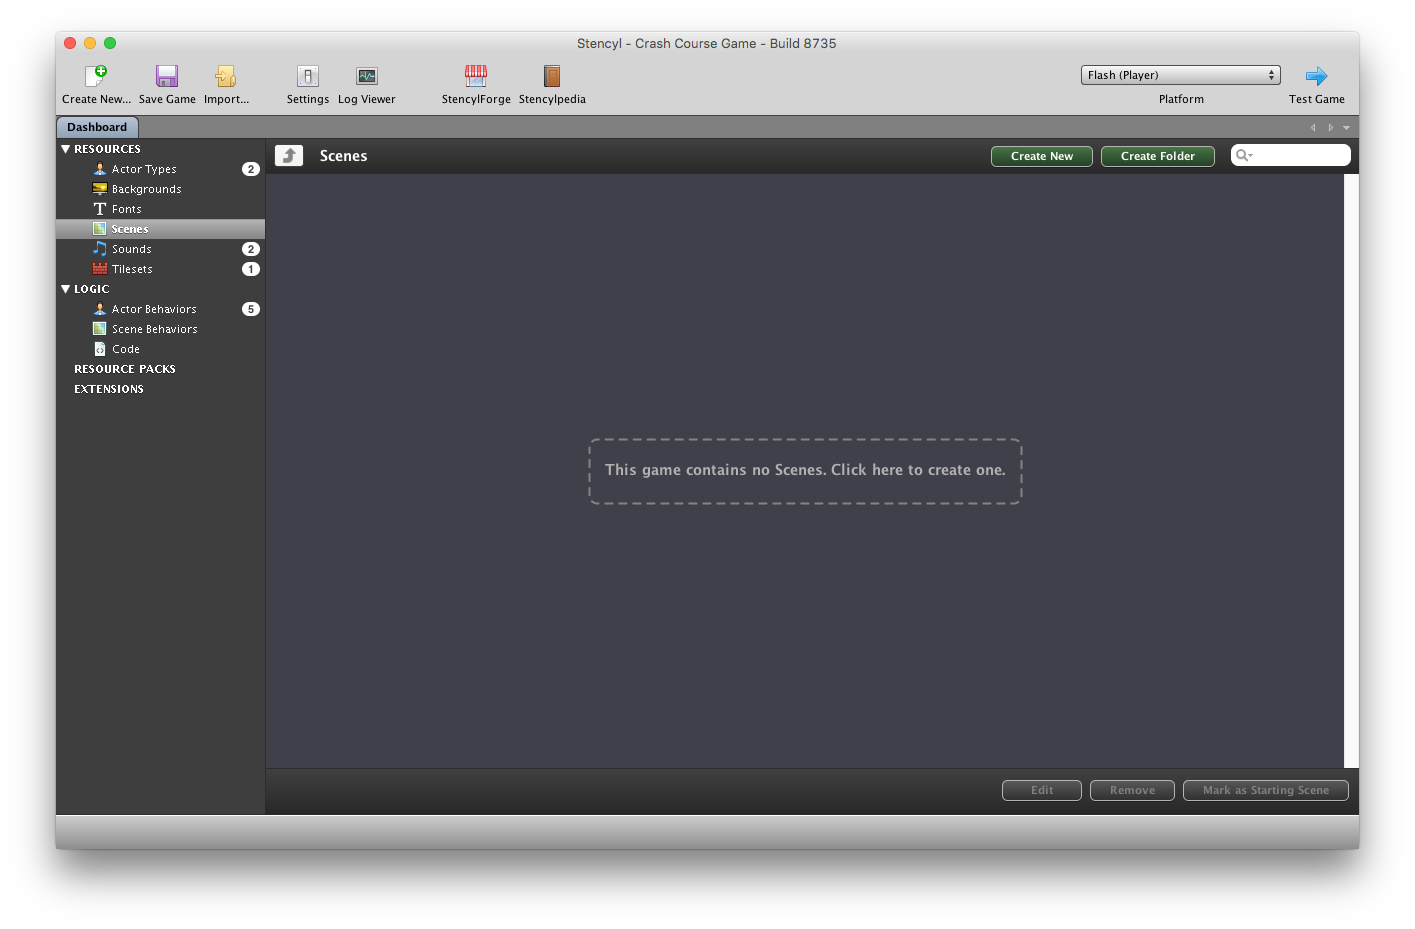
From the Dashboard, we can create new resources, import external ones or open existing ones. In the Crash Course, we’ve included all the resources you’ll need to get started. Let’s go over them.
The Player Actor
We’ll start by locating the Actor Type that will serve as our playable character.
Definition: In Stencyl, anything that can move or be interacted with is considered an Actor. This includes playable characters, enemies, user interface elements, etc. An Actor Type is a template for Actors, while Actor usually means a particular instance of a type. Often, the two terms may be used interchangeably in the community.
-
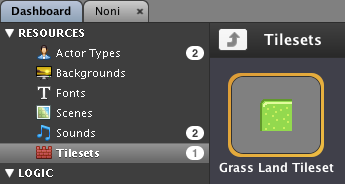
First, click on the Actor Types entry, located under RESOURCES in the Dashboard’s sidebar.
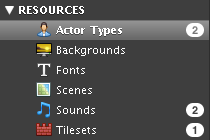
Note: You'll see a small number "2" next to the button. That number indicates the total number of actors in your game. Similarly, the numbers next to the other resources indicate the number of other types of resources we have.
-
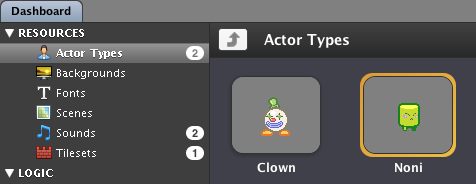
Now, a list of all the Actor Types in your game will appear. As expected, you’ll see two here, one called Noni, the other called Clown. Noni is going to be our player-controlled Actor Type.
-
If you double click on the Noni icon, Stencyl will open it inside the Actor Type Editor.
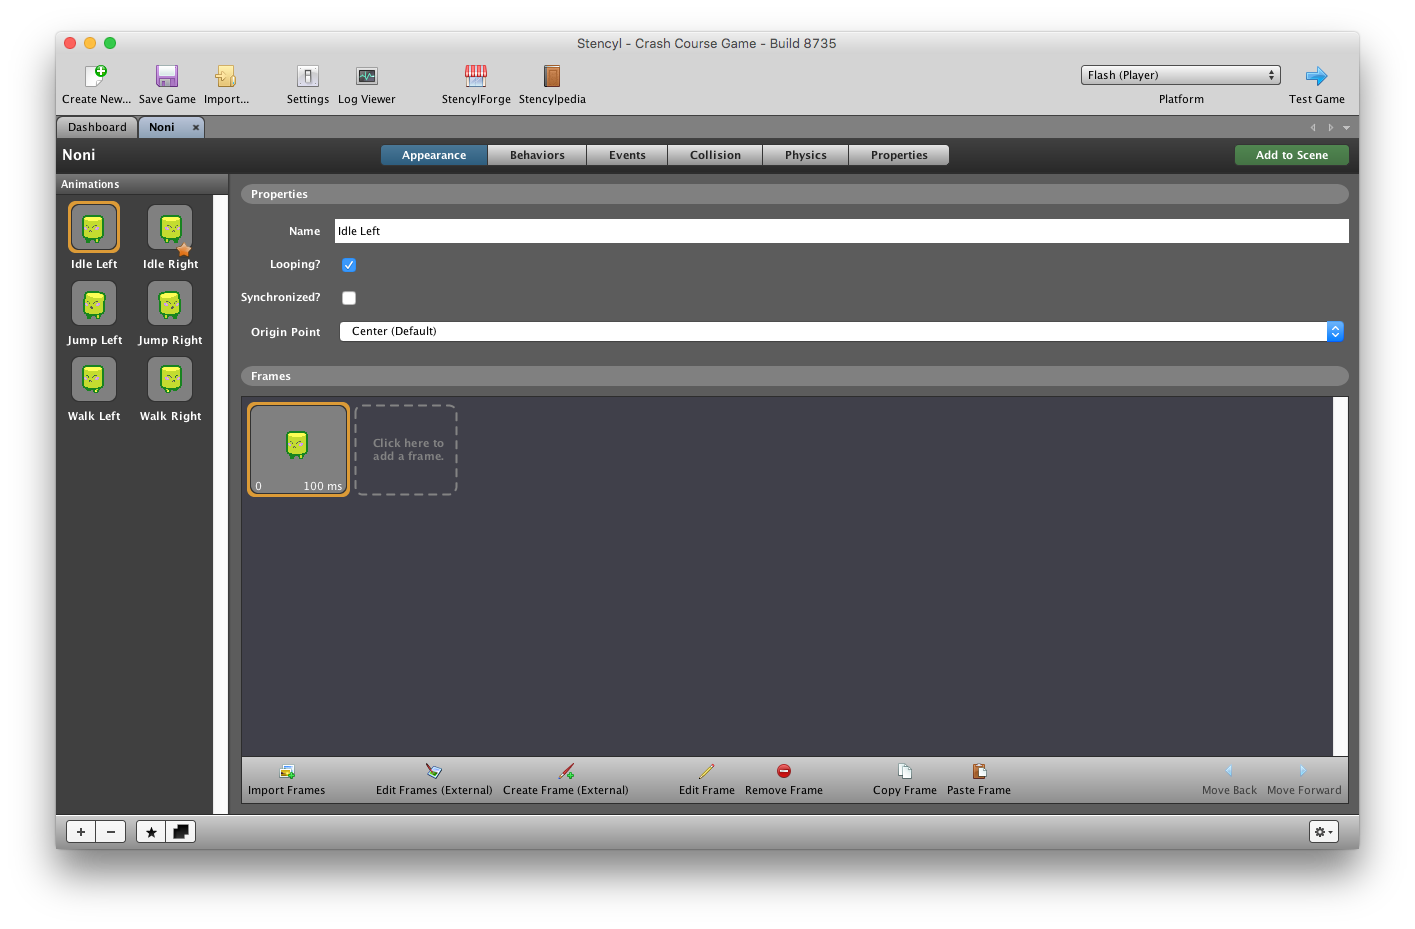
Definition: The Actor Type Editor is one of several resource editors inside Stencyl. It allows you to customize an Actor's appearance, behavior, and physical properties.
We’ll come back to this editor soon, but for now, let’s check out the rest of the resources we’ll be using.
The Enemy Actor
-
Flip back to the Dashboard by clicking on its tab.

-
Now open up Clown, the Actor Type we’ll use as our enemy.

Tip: Prefer to open things up using the keyboard? Type Ctrl-O (or Command-O on Mac). This will bring up a dialog in which you can type the name of any resource. Use the arrow keys to fine-tune your selection and press Enter/Return to confirm your selection.
Tileset
Now let's look at our Tileset.
Definition: A Tileset is a collection of rectangular tiles that can be used to build game levels (known as Scenes in Stencyl).
-
Click back to the Dashboard Tab, then click on the Tilesets category.
-
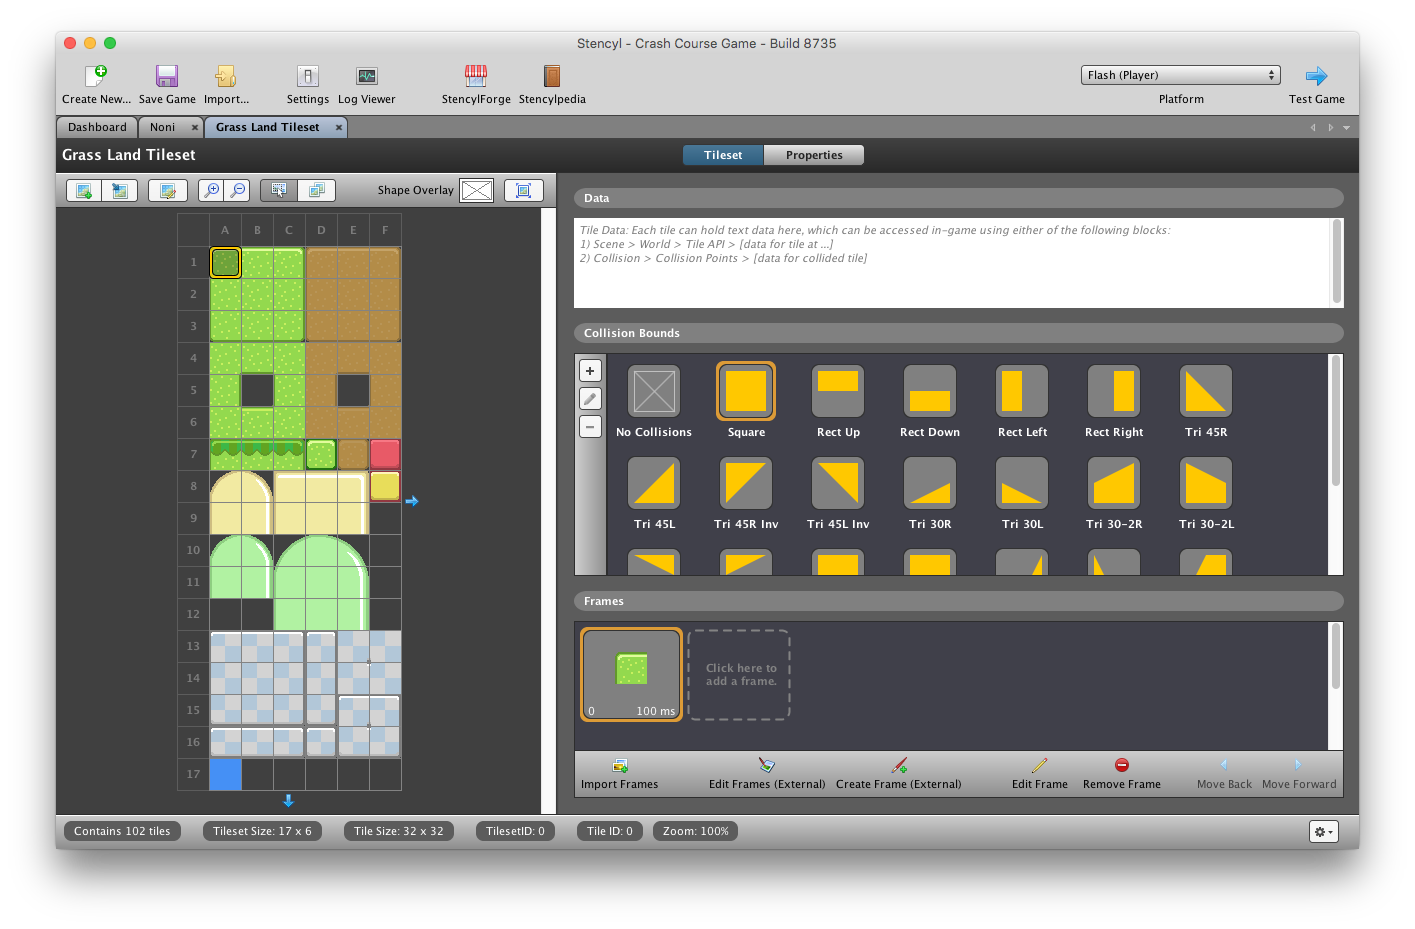
Open up the Grass Land Tileset.
-
As you’d expect, an editor pops up in a new tab. This time, it’s the Tileset Editor.
Sounds
Let’s look at our Sounds next. Click the Sounds button in the Dashboard. You’ll see that two Sounds are already there: Stomp and Jump.
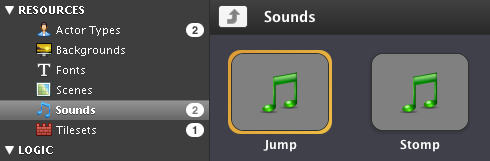
Feel free to open up one of them to check out the Sound Editor.
Behaviors
Now, let’s look at our Behaviors, specifically, Actor Behaviors, located in the Dashboard under LOGIC.
Shown below are the five Behaviors we’ll be using in the Crash Course:
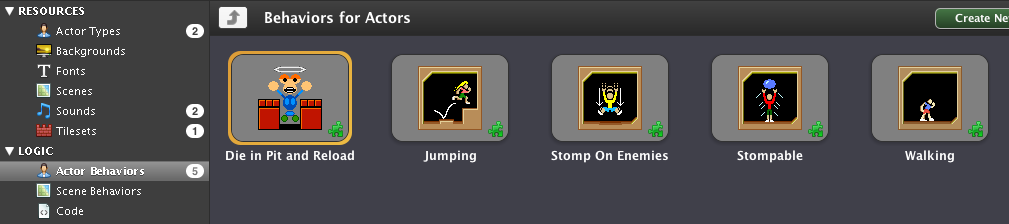
Note: Behaviors control all game logic and player interaction; they're what make every game "tick."
Let’s just take a quick peek inside one of these Behaviors. Double-click on Walking to open it. It will open inside Design Mode.
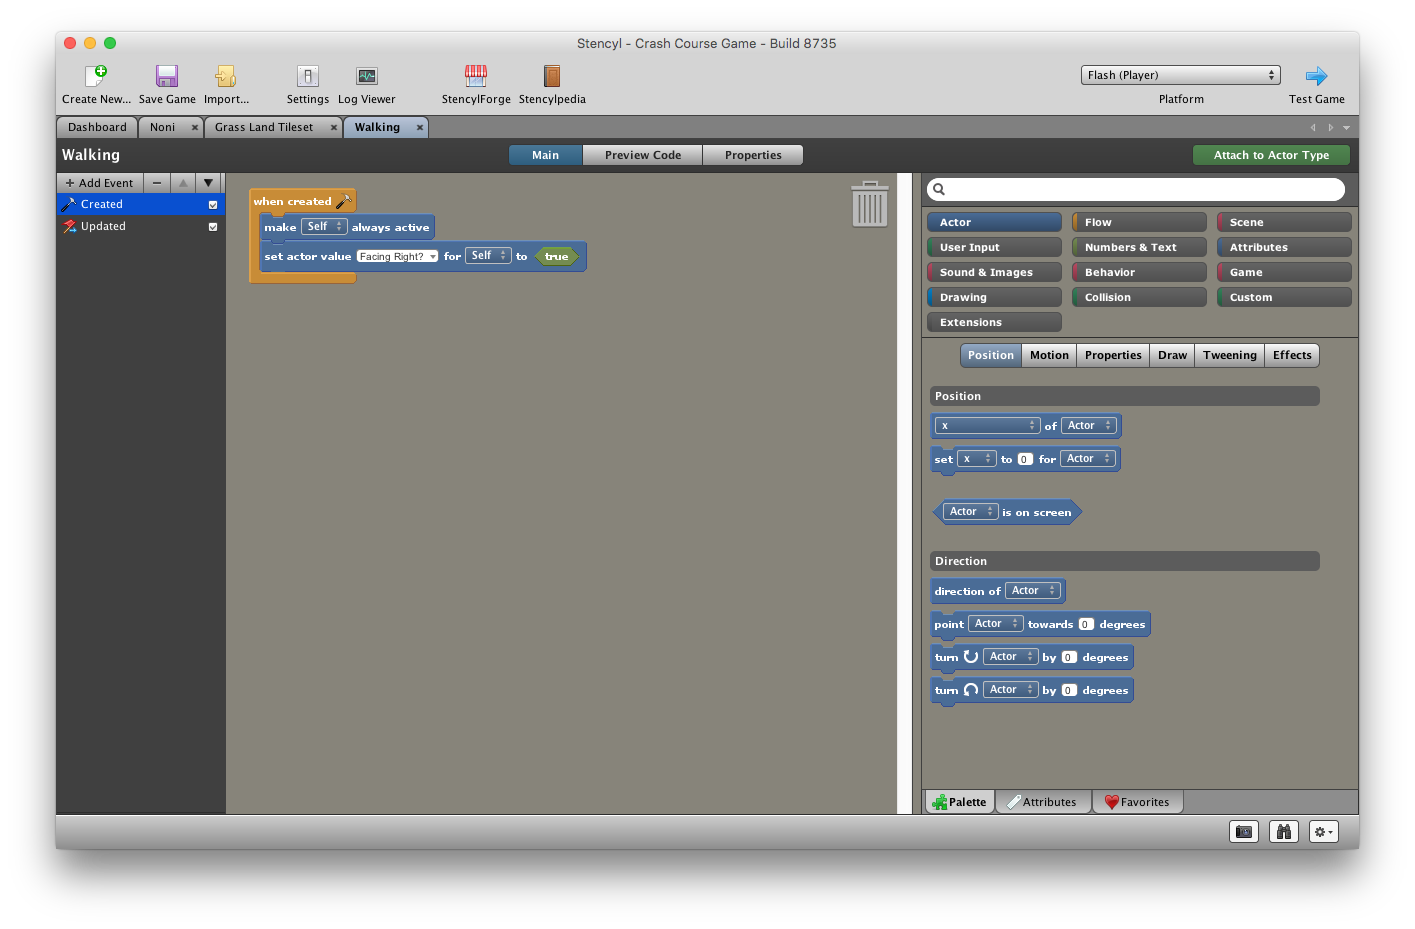
There’s a lot going on here, and we’ll talk about it further later on. Design Mode is a powerful tool that makes designing complex logic quite straightforward. We have a whole tutorial dedicated to helping you learn the workings of this editor. For now though, just know that it exists.
Note: Prefer typing code instead? We offer two ways to add code to your games: a dedicated Code Editor (or hooks to use your favorite text editor) and special Code Blocks that let you insert code into Design Mode.
Saving
When you’re working on your game, it’s a very good idea to save frequently. Just click the Save Game button in the main toolbar to do so, or hit Ctrl-S (or Command-S on Mac)
