Atlases
by Jon (Updated on 2016-04-03)
Contents
- Introduction
- Quick Guide
- Best Practices
- Reference
- Main Page
- Resources Page
- Scenes Page
- Preferences Page
- Using Blocks
- FAQ
- Challenge
Introduction
Stencyl allows you to group resources into categories and bind those categories to specific scenes in order to minimize memory usage. These "categories" are called Atlases.
Atlases work on both desktop and mobile games. A game that's been set up to use atlases will function properly on other platforms, but it won't take advantage of the feature.
Quick Guide
In this Quick Guide, we'll go through the basic steps to convert a simple single-atlas game into a multi-atlas one.
-
With a game open, let's open up our Game Settings, either from the Toolbar or the View menu.

-
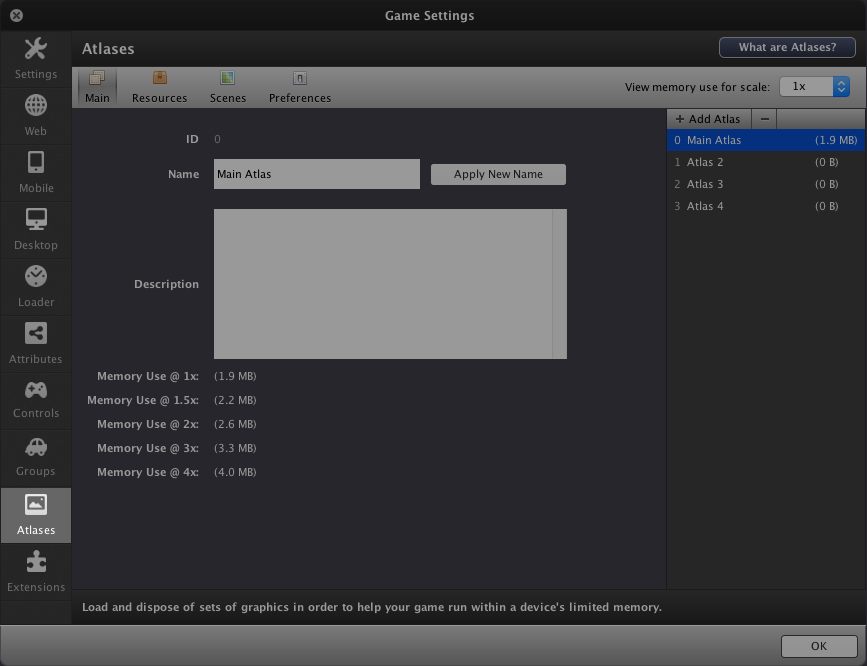
Let's click over to the Atlases section via the left sidebar in Game Settings.
-
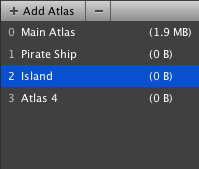
We'll double click on Atlas 2 in the right sidebar and rename it to "Pirate Ship"
-
We'll do the same for Atlas 3, except we'll change its name to "Island" instead.
-
Now let's switch over to Resources page

-
The Main Atlas should be open by default. This is where we'll put our most common resources that we'll want available in almost every scene. Whenever you add a new resource to the game, it will be placed in the Main Atlas by default.

-
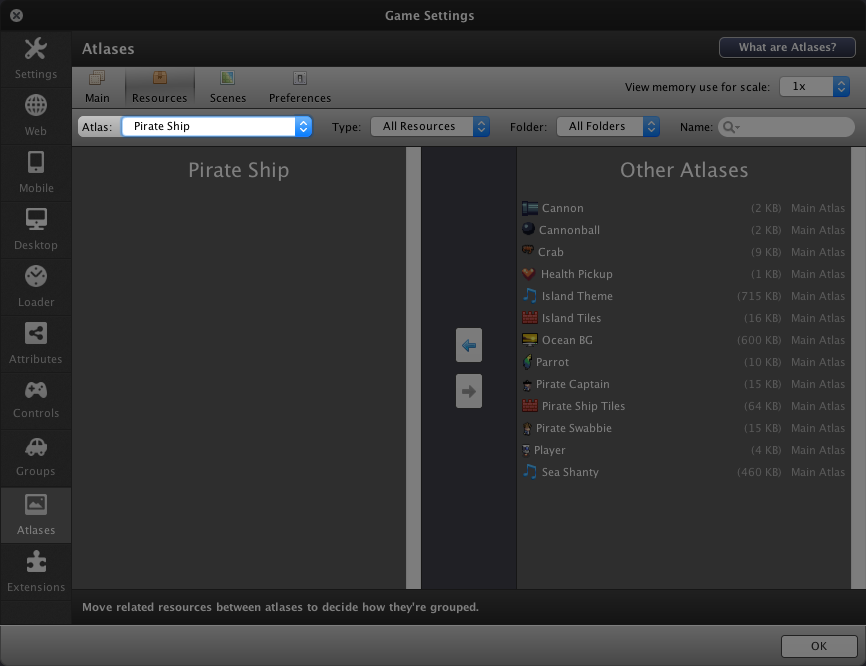
We can view other atlases from the Atlas drop-down menu. Let's switch over to Pirate Ship.
-
On the right, we have every resource not in the currently open atlas, Pirate Ship. We're going to drag over all of the resources we want to have in Pirate Ship.
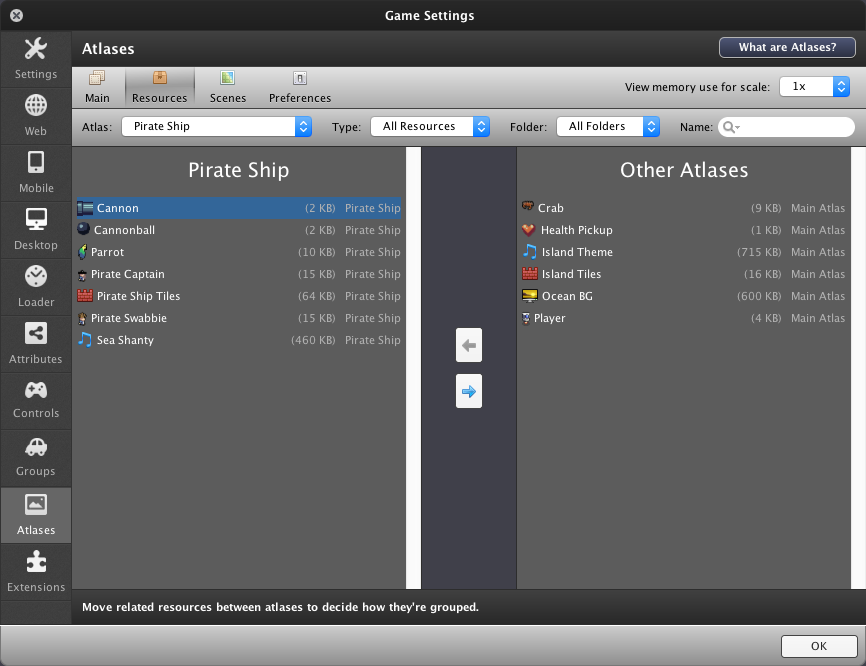
Keep in mind that these resources will only be available in scenes that have Pirate Ship atlas bound to them. Common resources (such as the player, interface elements and pickups) will typically stay in the Main Atlas.
-
Now, we're going to switch over to Island (from the Atlas drop-down, just as we did in Step 7) and drag all of the Island-exclusive resources over.
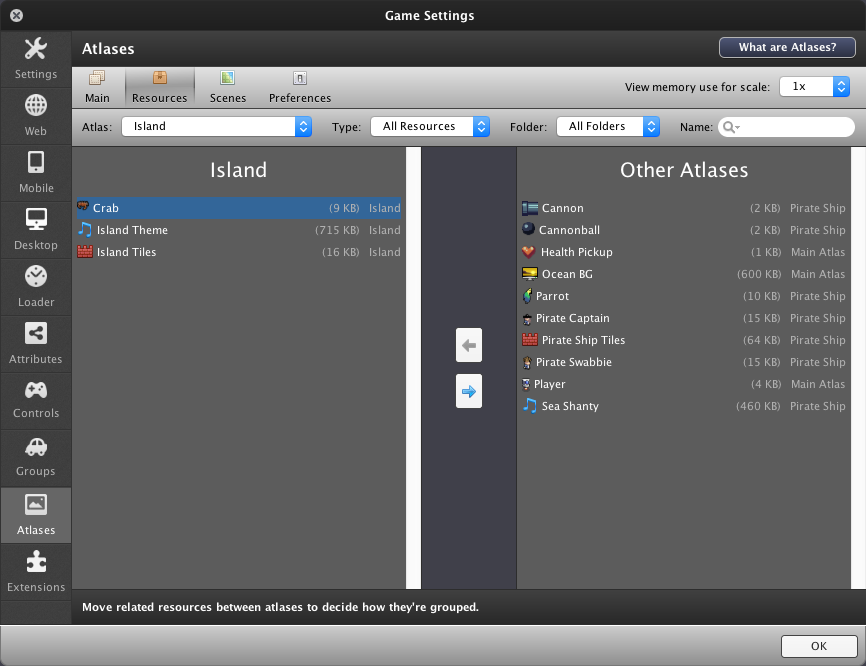
-
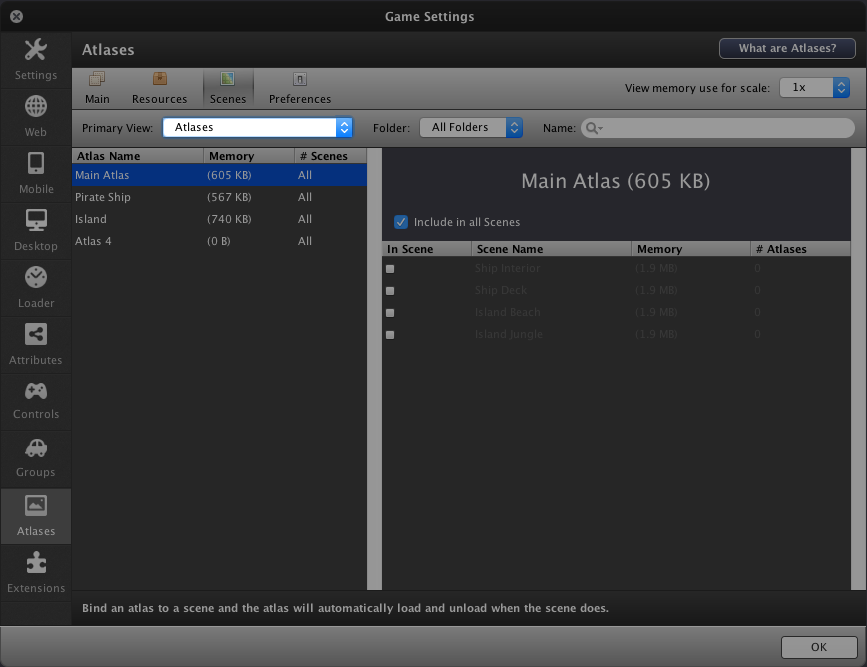
Let's check out our Main Atlas now. As you can see, this atlas contains Health Pickup, Player and Sky Background, which are indeed elements we'll want to have available all across our game.
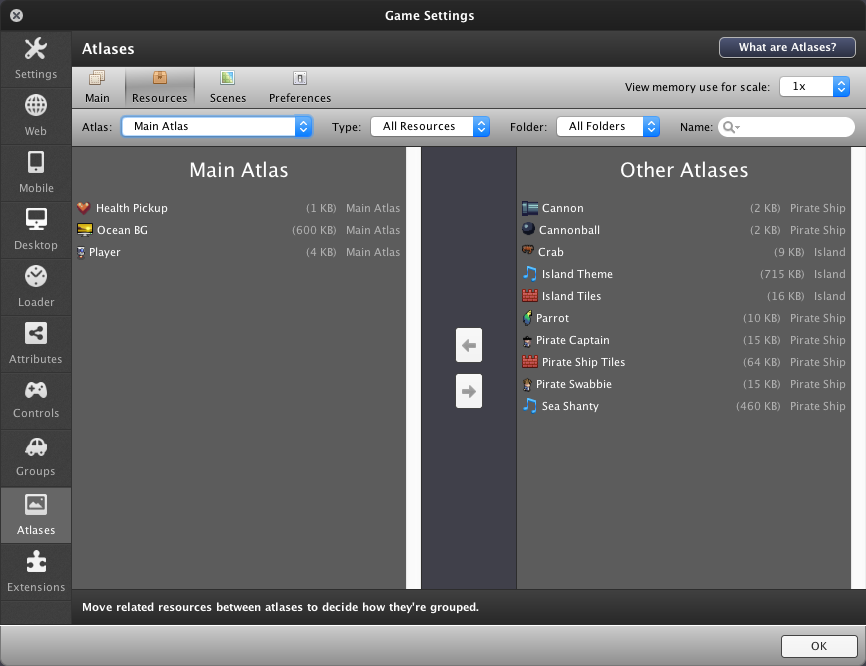
-
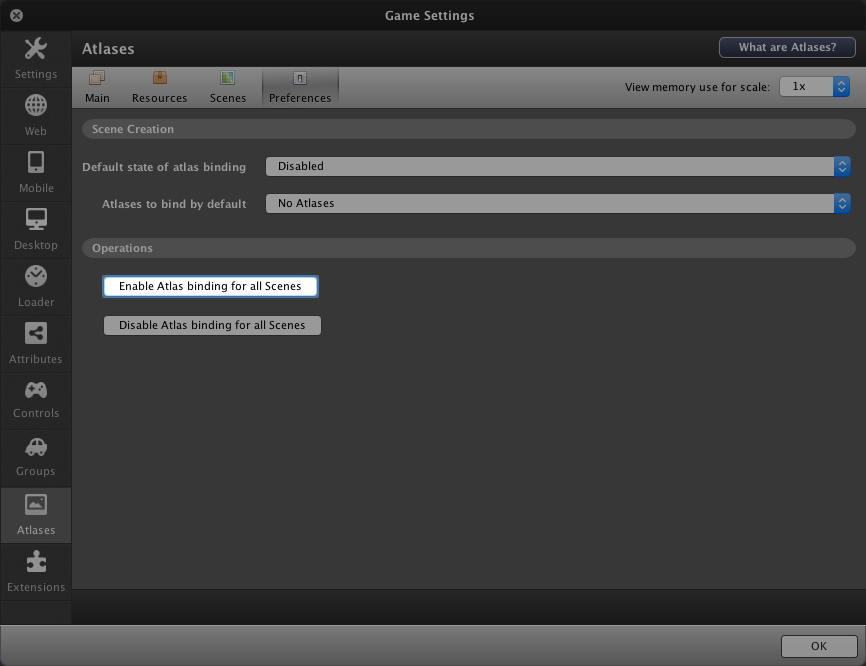
Now we're going to switch over to the Preferences page.

-
Scenes have atlas binding disabled by default, which means that every atlas will be loaded when we switch to those scenes. However, we want to be able to specify which atlases we want loaded for each scene. To change this for every currently existing scene, we'll click on Enable Atlas bindings for all Scenes.
-
Now, let's switch over to the "Scenes" page.

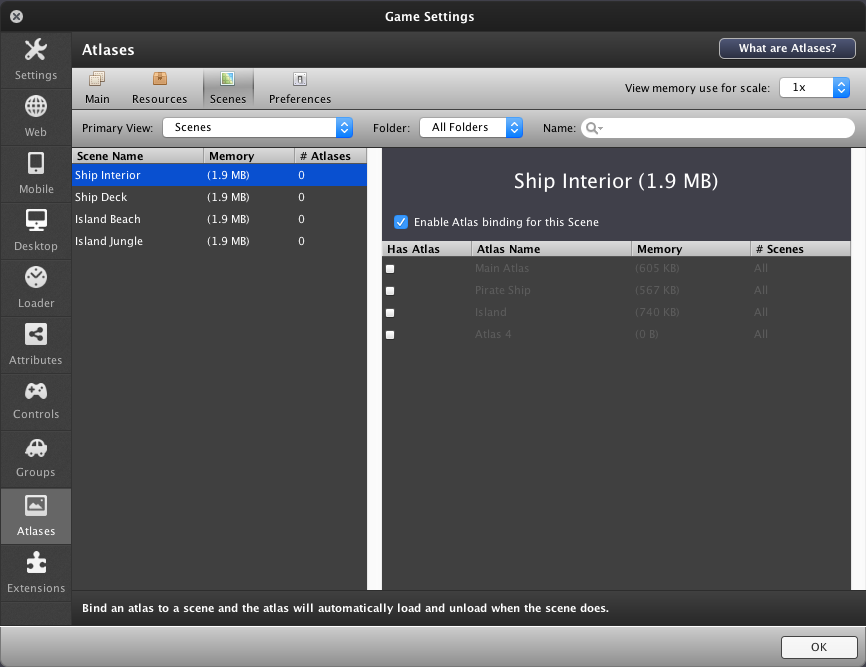
-
We want to switch the Primary View drop-down from Scenes over to Atlases.
-
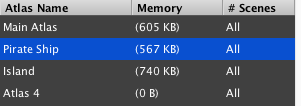
We're gonna switch over to the Pirate Ship atlas from the list on the left
-
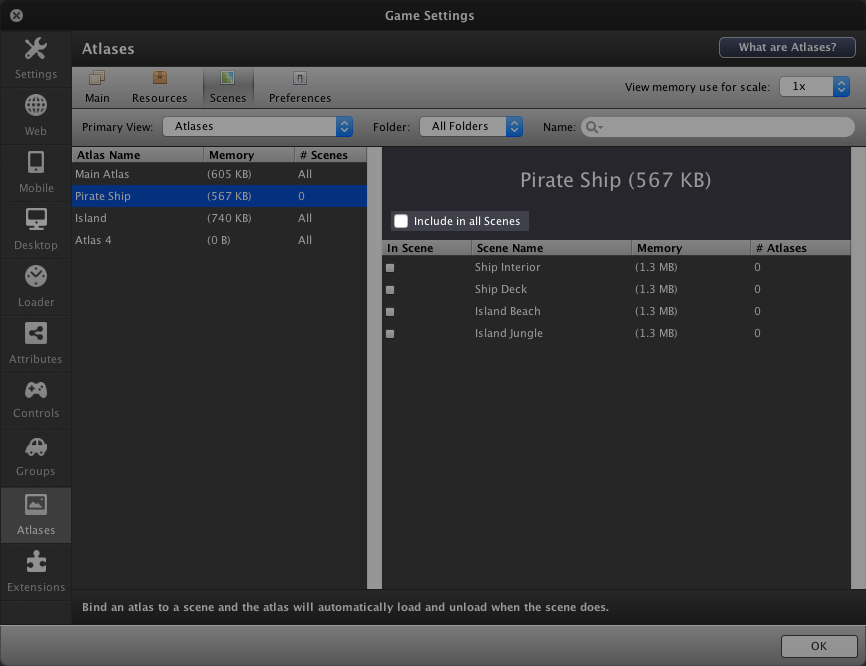
We only want the resources in this atlas to be available in pirate-ship-themed levels, so we'll uncheck Include in all Scenes on the right. If we were to leave it checked, the Pirate Ship atlas would load in every scene.
-
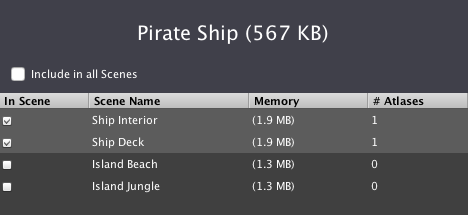
Below that, we'll check Ship Interior and Ship Deck. We've now made it so the resources within the Pirate Ship atlas will be available to those two scenes, but no others. This is fine since we're not using our Pirate Ship resources in any other scenes.
-
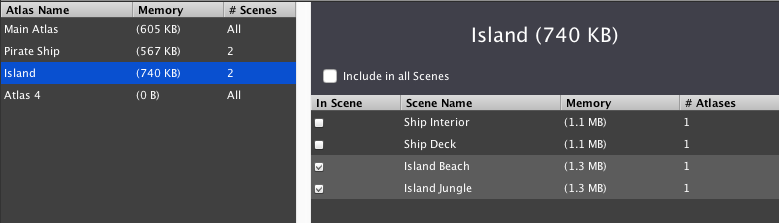
From the list on the left, we'll switch the current atlas to Island and uncheck Include in all Scenes, just as you did with the Pirate Ship atlas, except this time we'll check Island Beach and Island Jungle as the scenes to bind this atlas to.
We're All Set Up!
We've successfully converted our single-atlas game to a multi-atlas one! Assuming we don't try and use resources from atlases that aren't available to our current scene, everything should work as intended.
Best Practices
Our goal is to minimize our game's memory footprint. You do that by only loading what you're going to use in your scene.
However, realize that every game is different. What works best for one game won't necessarily work that well for another. Because of that, we can't tell you exactly how to divide and categorize your resources. It's up to you to figure that part out. Nonetheless, here are some general tips:
Combine Related Resources Together Into Atlases
If you're fairly sure that you'll typically be using a certain group of resources in conjunction with each other, consider grouping these resources into the same atlas.
For example, you could have an "Underwater" atlas that contains seabed tiles, various fish actors and a water-themed music track. Or if you wanted to be more specific in your atlas assignments, you could even give individual enemies their own atlases (especially if individual enemies use multiple unique resources, like their own sound effects and projectiles).
Watch Your Memory Usage
Take note of how much memory rises by using the FPS Monitor or telemetry.
Be Organized
Although most games probably won't require too many atlases, large, intensive games could possibly require hundreds. Keep your atlases and resources named and organized in a logical fashion to make things easier on yourself.
Add a Loading Scene
Sometimes, you'll find that if you're loading a lot of resources, atlas loading can take some time. In order to prevent an awkward pause with a black screen, consider switching to an intermediate scene with a "loading" graphic and then switching to the desired scene after that.
FAQ
Is there a limit to how many resources can go into an atlas?
Nope.
Is there a performance penalty for having too many atlases?
No. The only disadvantage is that it becomes harder for you (the creator) to keep track.
Is there a way to load/unload an atlas during a scene?
No.
Are atlases actually stored in one big, combined image?
Not anymore. They were in the past but that is no longer the case.
What platforms do atlases apply to?
iOS, Android, Windows, Mac and Linux.
Why does Stencyl say my resources are bigger than they are?
The images in your resources folder are likely compressed, but images are decompressed before being stored into memory. The numbers you see in the atlases manager represent how much space your resources take up in memory, not the file system. No amount of image compression will reduce your game's memory usage.
I'm not able to unbind my atlases to scenes and they appear grayed out
You either need to enable atlas binding for the scenes in question (this can be done for all scenes at once from the Preferences page in Atlases) or disable "Include in all Scenes" for the atlases in question. Both of these can be accomplished from the Scenes page of Atlases.
Challenge: Making a Preloader
At the time of writing, Stencyl doesn't support preloaders on mobile and desktop platforms. For some games, this may generate an awkward pause at the start. Let's create a preloader from scratch using what we know.
- Tell all atlases not to initially load, aside from your main atlas.
- Make the first scene show a loading graphic of your choice (bonus points if it's animated or moves across the screen to give the semblance of progress).
- Load the atlases you need.
- Then, switch to the "real" first scene.
That will get you a basic preloader, albeit one without a progress bar. Now, here's the second part of the challenge - add an accurate loading bar, using just the basic facilities described in this article.
Hint: Load your game, one atlas at a time. Preferably make it so you have one master loading scene rather than many.